
🧰 Tools & Gear You’ll Need
- An iPhone (latest model recommended for best camera performance)
- Optional: A portable tripod or mini-gorillapod for stable shots
- Optional: A small, high-quality external lens kit (wide-angle, macro, telephoto)
- Portable power bank to keep your iPhone charged
- Cloud storage or reliable backup method for your photos
Mastering the iPhone Camera Basics
Before we dive into advanced techniques, let’s ensure you’ve got the fundamentals locked down. Your iPhone camera is a powerful tool, but many users only scratch the surface. First, *always* clean your lens. Smudges are the silent killers of crisp, aesthetic photos. Use a microfiber cloth – not your t-shirt. Next, understand your focus and exposure. Tap on your screen to set focus on your subject. Once focused, you can slide your finger up or down to adjust exposure (brightness). This manual control is crucial for capturing the mood of a scene. Don’t rely solely on the auto settings; they’re often fooled by challenging lighting.

The Power of Composition: Beyond the Rule of Thirds
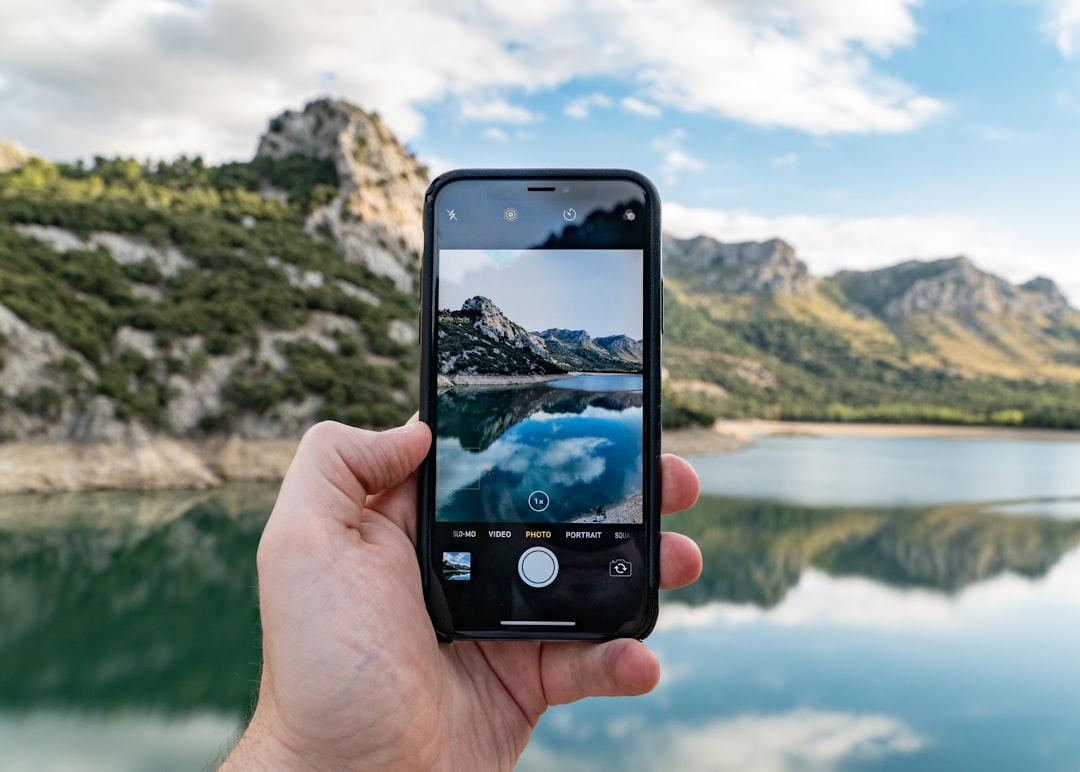
The ‘Rule of Thirds’ is a starting point, not an end goal. For aesthetic travel photos, we need to think deeper. Consider leading lines – roads, pathways, fences, rivers – that draw the viewer’s eye into the image. Symmetry can be incredibly powerful, especially in architectural shots or natural landscapes. Look for reflections in water or windows; they can add depth and a surreal quality. Negative space is also key. Don’t feel the need to fill every inch of the frame. Empty space can emphasize your subject and create a sense of calm or grandeur.
Leveraging iPhone’s Native Shooting Modes
Your iPhone offers more than just the standard ‘Photo’ mode.
* **Portrait Mode:** This is your secret weapon for isolating subjects. It artificially blurs the background (bokeh), making your subject pop. Experiment with different lighting effects (Natural, Studio, Contour, Stage Light) to find what best suits your scene. Don’t be afraid to shoot people, but also try it on objects – a unique architectural detail, a plate of exotic food, or even a scenic vista if you want to draw attention to a specific foreground element.
* **Pano Mode:** Don’t just shoot horizontal panoramas. Try vertical panoramas for capturing towering structures or dramatic cliffs. Move slowly and steadily.
* **Night Mode:** If your iPhone has it, use it! It dramatically improves low-light performance. Find a stable surface or use a tripod for the best results. Avoid moving subjects unless you want intentional motion blur.
* **Live Photos:** While often gimmicky, Live Photos can capture a moment of movement or sound that adds life. The ‘Loop’ and ‘Bounce’ effects can be surprisingly creative for short, repeating visual gags or transitions.

The Art of Light: Chasing the Golden Hour (and Beyond)
Light is everything in photography. The ‘Golden Hour’ – the period shortly after sunrise and before sunset – provides soft, warm, directional light that is incredibly flattering. Use this time to capture silhouettes, warm landscapes, and portraits with a beautiful glow. However, don’t discount other lighting conditions. Overcast days offer soft, diffused light, perfect for portraits and capturing details without harsh shadows. Midday sun, often considered ‘bad’ light, can be used creatively for high-contrast, dramatic shots, especially in urban environments or deserts. Look for interesting shadow patterns.
iPhone Editing: The Subtle Touch is Key
The raw photo is just the beginning. Your iPhone’s built-in Photos app has surprisingly powerful editing tools. Don’t go overboard. Aesthetic photos are often about enhancing, not altering reality.
* **Exposure & Brightness:** Fine-tune these to ensure details aren’t lost in shadows or highlights.
* **Contrast:** Add a little contrast to make colors ‘pop’, but don’t overdo it, or the image will look unnatural.
* **Saturation & Vibrance:** Vibrance is generally safer than Saturation, as it targets less-saturated colors more. Use them to bring out the natural beauty of the scene.
* **Sharpness:** A touch of sharpness can make details crisper, but too much creates an artificial, crunchy look.
* **Cropping & Straightening:** Always check if your horizon is level. Cropping can improve composition by removing distractions or emphasizing your subject.

Beyond the Built-in: Essential Third-Party Apps
While the native tools are good, dedicated apps offer more control and creative options.
* **Snapseed (Free):** A powerhouse with granular control over almost every aspect of editing, including selective adjustments, healing tools, and perspective correction. Its ‘Tune Image’ tool is fantastic.
* **VSCO (Free with Paid Options):** Known for its beautiful, film-like filters (presets). Use presets sparingly as a starting point, then fine-tune with the manual controls. Avoid overly trendy filters that will look dated quickly.
* **Halide/ProCamera (Paid):** If you want DSLR-like manual controls (ISO, shutter speed, manual focus), these apps are worth the investment. They allow you to shoot in RAW format for maximum editing flexibility.
Storytelling Through Your Travel Photos
Aesthetic photos are more than just pretty pictures; they tell a story. Think about the narrative you want to convey. Capture the details: the texture of a local market stall, the steam rising from a coffee cup in a quaint cafe, the interaction between locals. Juxtapose wide shots of grand landscapes with intimate close-ups. Sequence your photos to create a visual journey. Don’t just document where you went; capture the *feeling* of being there. What made this place special? What emotions did it evoke?

Advanced iPhone Photography Hacks
* **DIY Filters:** Use a clear plastic baggie over your lens (carefully!) with a tiny bit of Vaseline smeared on it for a dreamy, soft-focus effect. Or, hold a piece of coloured cellophane in front of the lens for creative colour casts. Use these *very* sparingly and experiment first.
* **Using the Timer:** Even with a tripod, pressing the shutter button can cause slight camera shake. Use the built-in timer (3 or 10 seconds) to ensure maximum sharpness, especially in low light.
* **Shooting Through Objects:** Experiment with shooting through leaves, sunglasses, or even a glass of water to create unique visual effects and bokeh.
* **RAW Photography (for Pro models):** If your iPhone supports it, shooting in RAW (via a third-party app like Halide) gives you significantly more data to work with in post-processing, allowing for more aggressive edits without degrading image quality.
By combining these techniques, understanding light, and embracing thoughtful editing, you can transform your iPhone travel photos from mere snapshots into captivating works of art. Remember, the best camera is the one you have with you, and with these hardcore, battle-tested tips, your iPhone is ready to capture the world like a seasoned pro.